Getting Warmer
How to insulate solid walls
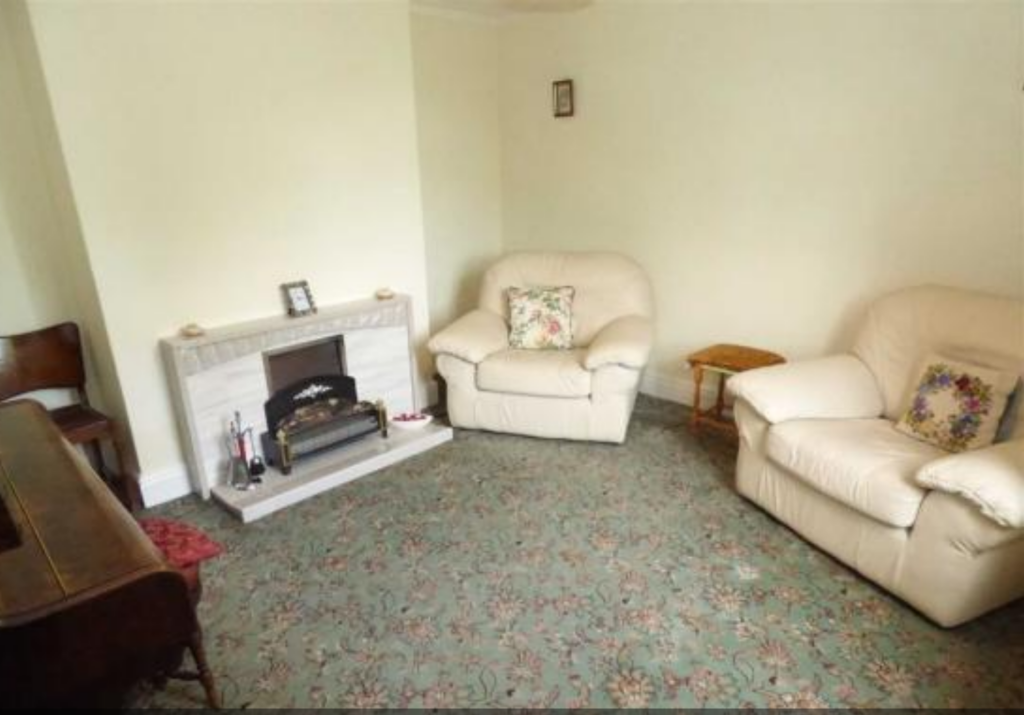
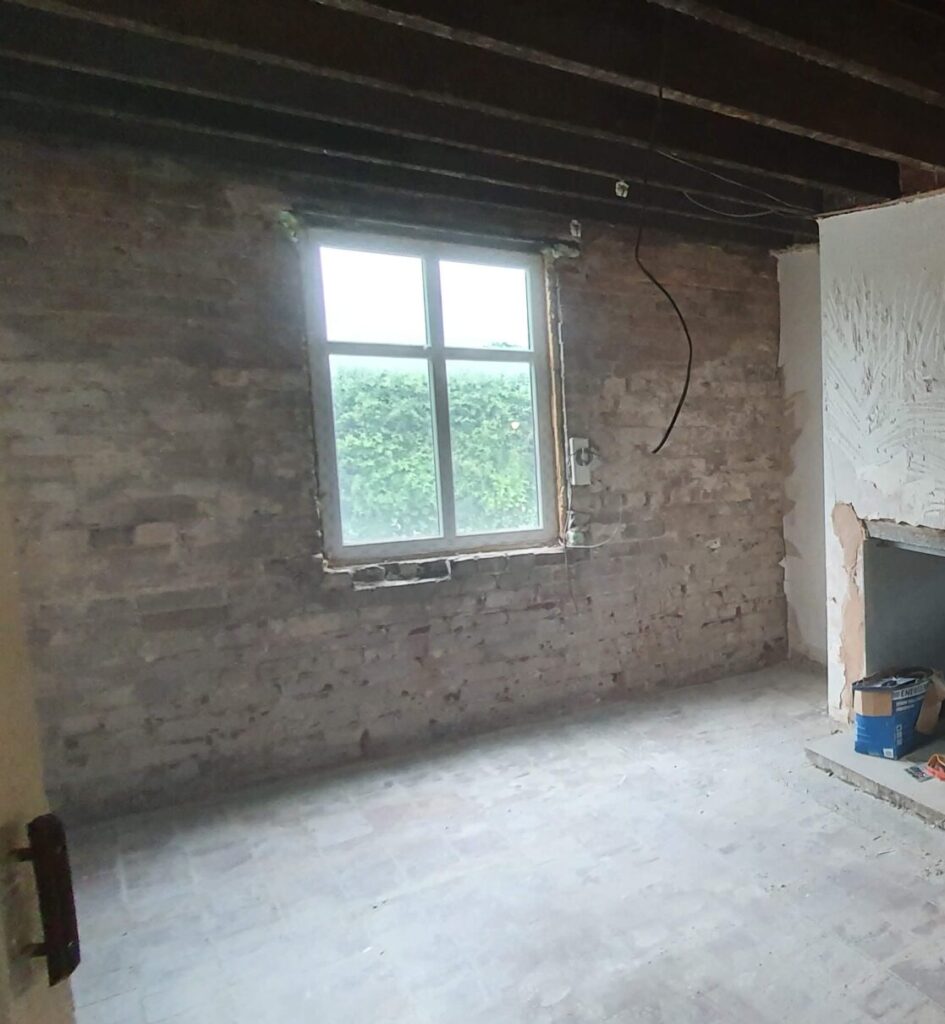
Here is the old living room when we purchased the house, the wallpaper was damp and pealing off around the bottom and the walls were cold to touch. We had a log burner installed but this did not help dry the property out so we had to take action.
Insulating solid walls is a fantastic way to improve your home’s energy efficiency. It can help reduce heat loss and lower your energy bills. Here’s a detailed guide on how to insulate solid walls, with helpful tips for a successful project. Insulation boards have skyrocketed since 2020 as all building materials have, but there are ways to save, at the end of this blog I will show you ways to save in boards and materials.
Materials You’ll Need:
- PIR insulation boards (e.g., Kingspan, Celotex, Ecotherm)
- Wood roof battens
- Plastic packers or shims
- Damp-proof Course (DPC)
- Staple Gun
- Fixings (Masonry screws, Plasterboard screws)
- Plasterboard
- Skim plaster or tape and joint.
Step 1: Assess and Prepare the Wall
Before starting, assess the wall for any damp issues. Solid walls, especially older ones, can suffer from moisture ingress, so it’s important to fix any issues before insulating. If the walls are sound, you can proceed.
Tip: If you suspect moisture, consider using a damp-proof membrane to prevent future problems.
Step 2: Strip the Wall Back to Its Base
Remove any old plaster, wallpaper, and fixings from the walls to expose the solid surface. This step will allow for a clean surface on which to install the insulation.
Step 3: Apply a Damp-Proof Course to timber batons
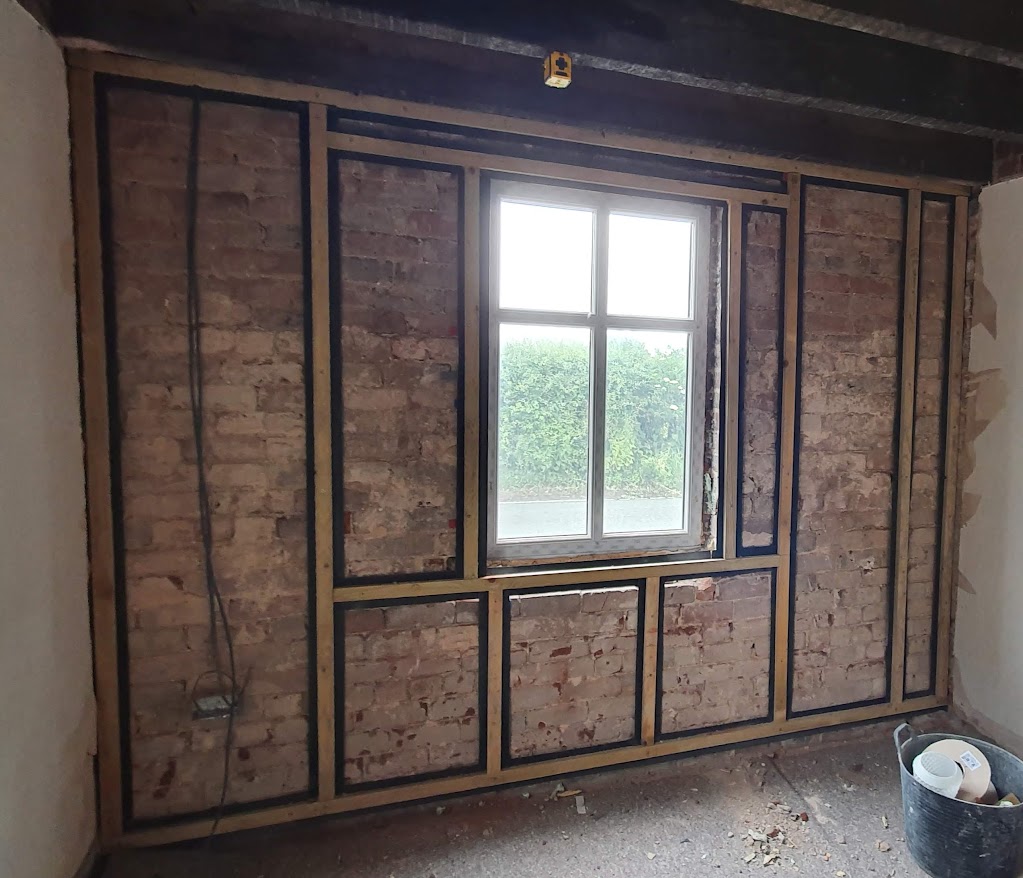
To prevent moisture from penetrating through the walls and affecting the timber, apply a damp-proof to one side of the timber batons using a staple gun.
Step 4: Install the Wooden Battens
I had to use a laser and spirit level to one ensure the new wall was square as the old walls had bowed, and none were square, also they leaned outwards towards the top, meaning I had to pack out the top of the wood to ensure the was were plumb, this is especially needed to ensure your corners are straight and alcoves took neat.
Using packers to get the wood baton plumb attach the baton to the wall using Torx masonry screws.
Tip: A typical gap between battens is around 600mm to the centre of the baton, but adjust this according to the size of the insulation boards you’re using and you will have to baton around windows to catch the plasterboards. Use a 1200mm off cut of wood to mark on the wall where your plasterboards will land, you may want to start at different sides of the wall to get the best fit and not cause excess waste on window walls.

Step 5: Install PIR Insulation Boards
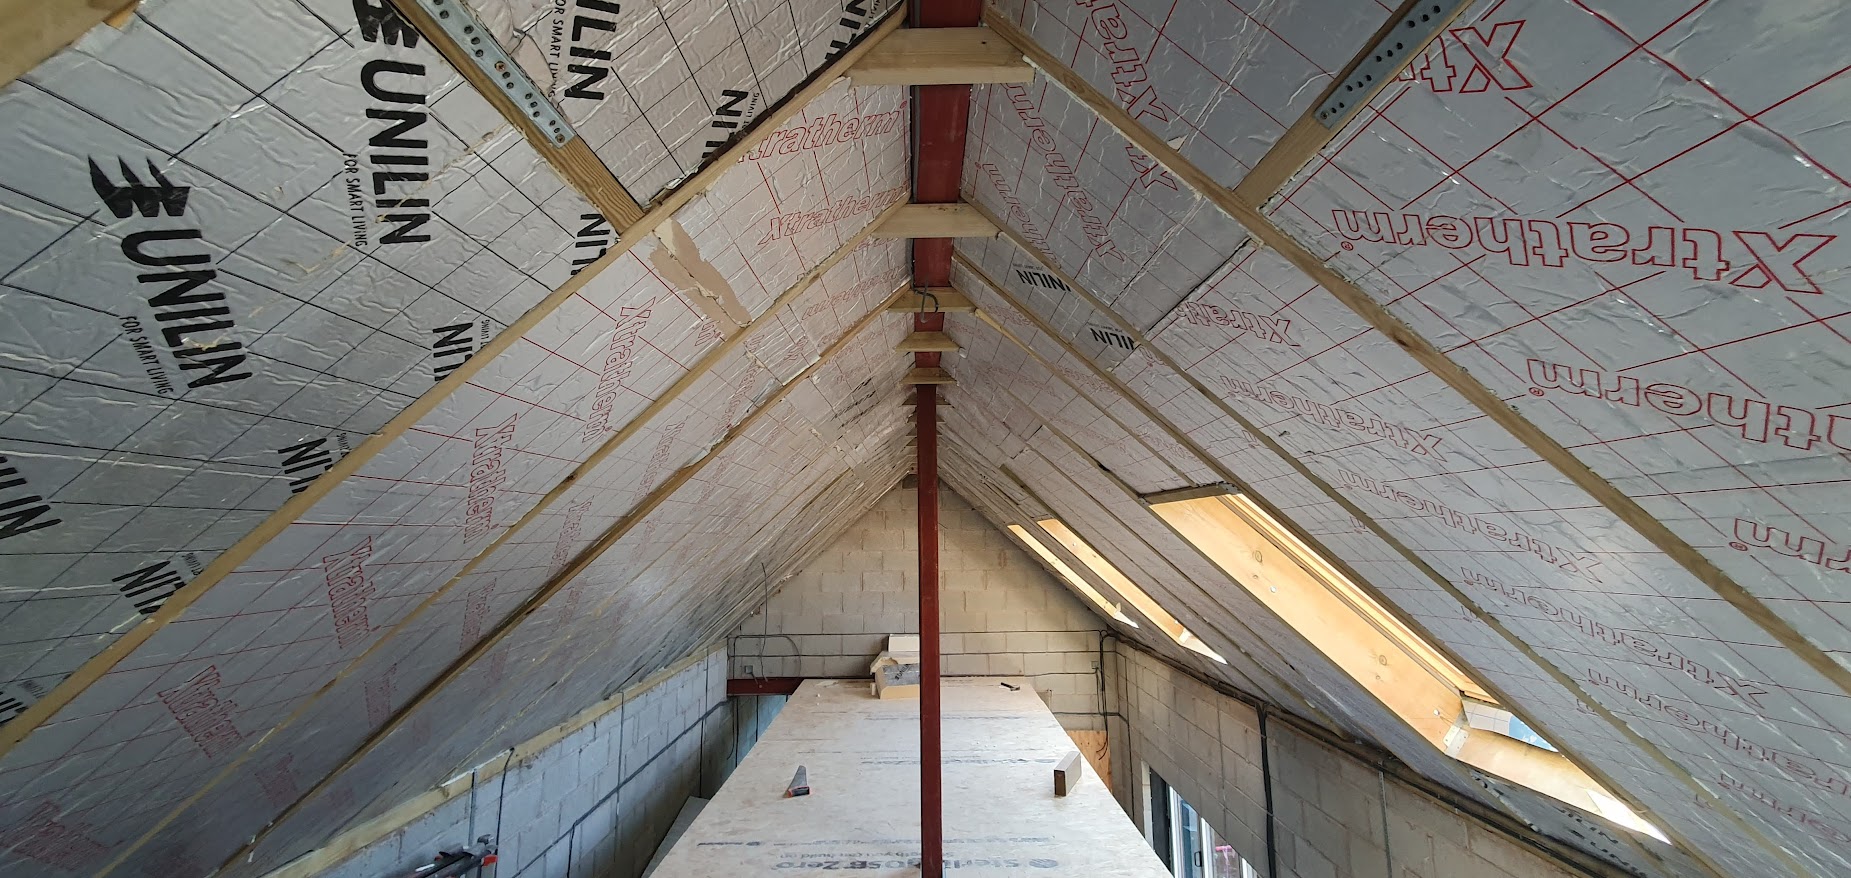
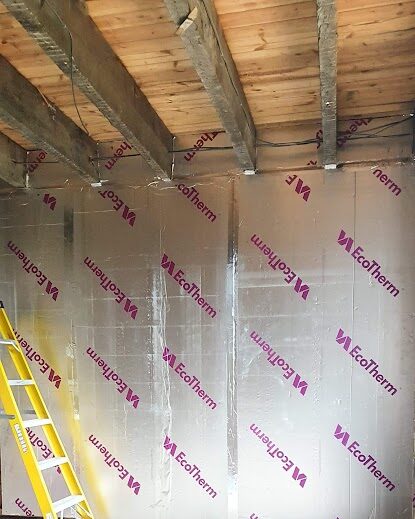
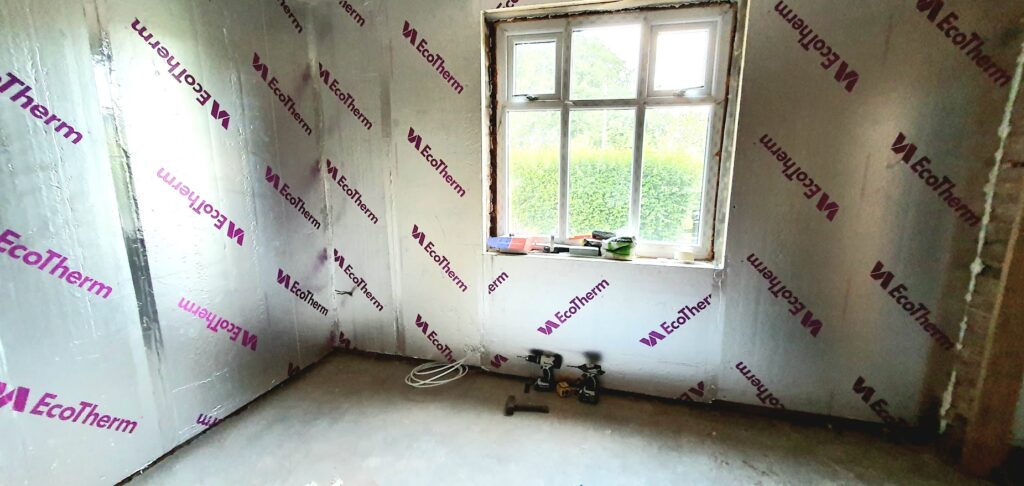
Using high strength double-sided tape or grab adhesive attach the PIR insulation boards over the battens. It is essential these are snugly packed together with no gaps, use expending foam or Instastick to get an airtight join. Ensure you cover the whole wall top to bottom, between rafters and to the floor, you need to ensure no warm moist air can get to the cold wall behind and cause damp mould.
Ensure you wrap around the window returns also to ensure no vapor can pass behind the insulation and also to prevent cold spots causing condensation around the window.
Tip: If the boards are shorter than the room hight, attach to the top of the room leaving a gap along the bottom, then using your offcuts, cut strips to fit the gap and hammer in with a plant of timber, fill all remaining gaps with expanding foam.
Step 6: Add a Vapor Control Layer
After installing the insulation boards, ensure all joins are covered using foil tape, around joists and along the bottom of the boards. This is essential to prevent moisture from forming behind the insulation and causing dampness over time. Foam and tape the joints and edges to make it airtight.
Step 7: Attach the Plasterboard
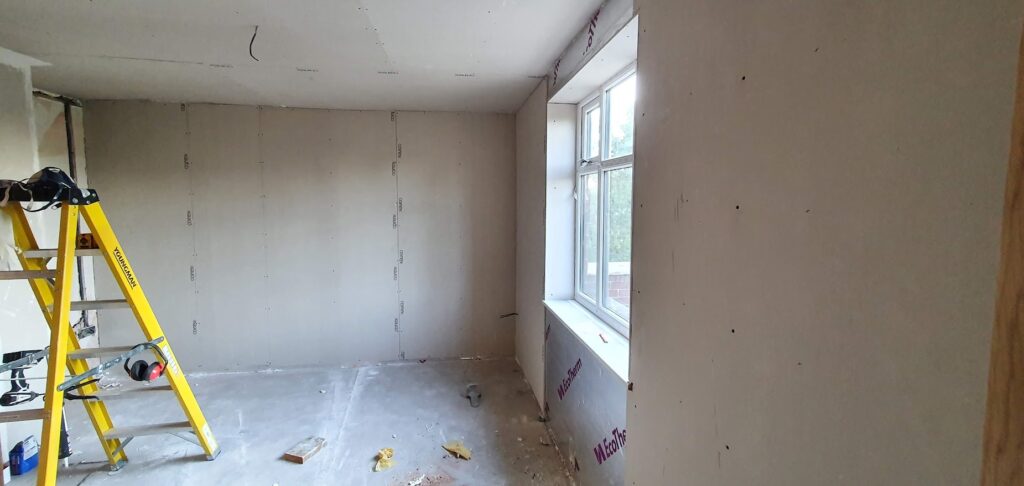
Now, screw plasterboards over the battens and insulation to create a smooth surface. Ensure that all the screws are flush with the surface of the plasterboard to avoid lumps when skimming. You will have to buy long plasterboard screws to pass through the plasterboard (12.5mm), The depth of insulation in our case 45mm, and penetrate the timber baton. This will hold all inplace.
Step 8: Skim and Finish the Wall
The final step is to apply a skim coat of plaster or finish the surface in your chosen style, such as painting or tiling. Make sure everything is smooth and level for a professional finish.
Tip: For rooms like kitchens or bathrooms, consider using moisture-resistant plasterboard to prevent future problems.
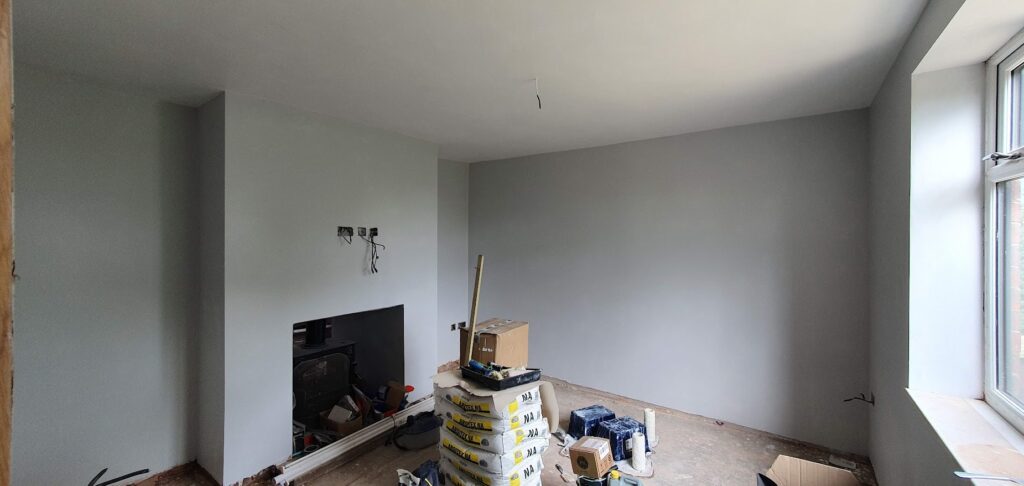
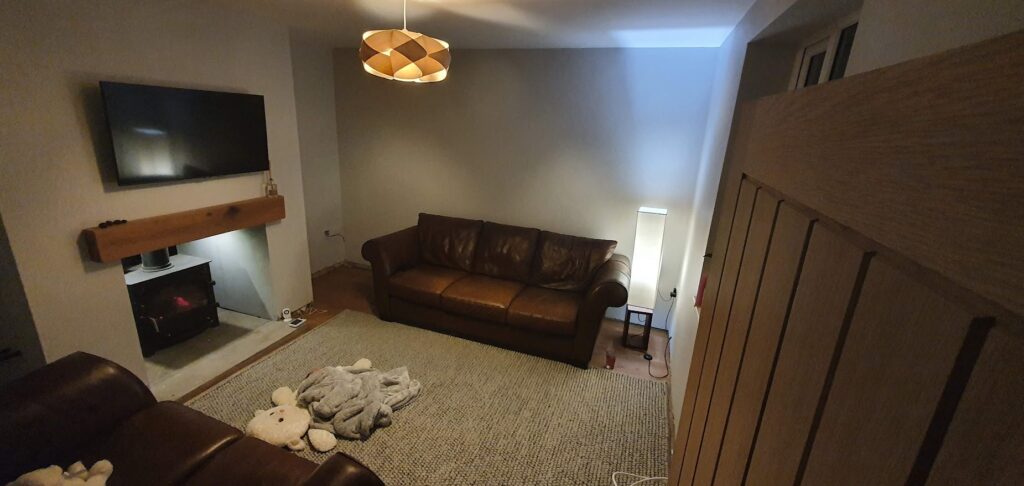
The living room and dining room transformation has been a remarkable success, making the house feel significantly warmer and more comfortable. Plus, the damp is gone just in time for the new baby—who arrived a week before the laminate flooring was installed!
Here’s how to make a similar impact with your home cost effective:
- Buy Insulation Boards from Seconds Suppliers: Sites like Seconds & Co offer cheap, slightly defective boards.
- Look Like a Pro: Grab some trade pants and talk to local builder merchant for discounts, if you look the part and sound the part they more often than not give you a better price. The listed price is rarely the price especially if you look like a tradesperson.
- Plan Carefully: Avoid wastage by marking out where everything goes. Insulation boards and plasterboard are expensive and tricky to dispose of—skip companies often charge extra for these materials as do local recycle centres.
- Use Insulated Plasterboard: For easy installation consider insulated plasterboard such as cooltherm. You can adhere them with adhesive like Instastick and a few screws to secure them into place. these are really quick to instal but are double the price. I bought foil one side second insulation boards from Seconds & Co for £15 a board and using Instastick glued them to a sheet of plasterboard. by stacking them up as I stuck them the weight sandwiched them together nicely.
- Shop Smart: Skip B&Q, as builders’ merchants or Toolstation often have better deals. I also found Screwfix difficult as they never had anything in-stock it was always next day which you don’t find out until you have paid. Try to open a trade account for additional savings.
