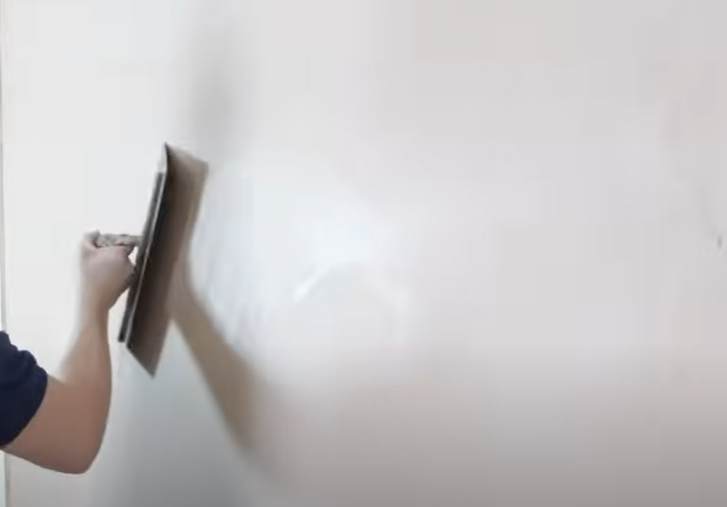
How to Plaster
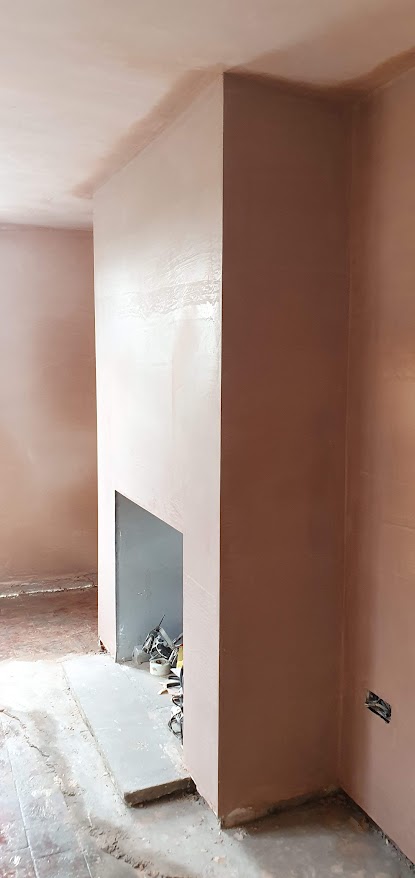
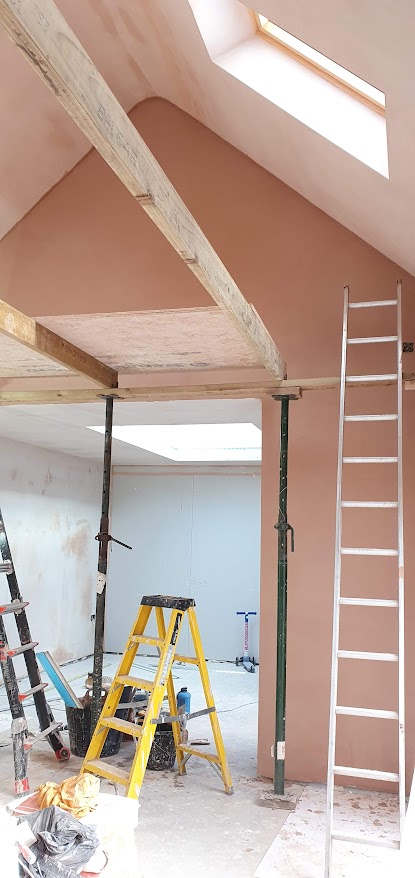
Can Anyone plaster a wall
Can anyone pick up a trowel and start plastering? Well, in theory, yes. But like many things, it takes a great deal of skill and an understanding of what to look out for. Let me tell you, I learned the hard way—first by trial and error, and then properly after completing a course. Think of it like driving a car. Sure, you could jump in with no lessons and make it move, but not very well. Taking lessons helps you become proficient, but then you hit a snowstorm or encounter a five-lane roundabout at rush hour. It’s the same with plastering—learning the basics is one thing, but it takes time and experience to really get good.
When I first tried plastering, it was in a bathroom. No lessons, no guidance—I just figured I’d give it a go since tiles were going on top. How hard could it be, right? Turns out, very hard. I didn’t know about timing, and I was constantly chasing lines. Plaster ended up everywhere. It was a disaster, but luckily, the tiles covered up my mess.
So, when I bought this property, I knew I’d need to do things properly and signed up for a 10-day plastering course with Gold Trowel Construction. It cost £1,800, and I’d recommend it to anyone serious about learning plastering. The course will save you from making countless mistakes, and you can even earn a bit of extra cash plastering for friends and family afterward.
Gold Trowel has booths set up for you to make mistakes in. Over 10 days, we learned not only plastering but also plaster-boarding, rendering, and screeding. We plaster-boarded countless ceilings, plastered walls, rendered walls, and screeded floors—over and over again until we got it right. By the end of the week, I felt like my arm was about to fall off, but I’d gotten the hang of it. I was confident enough to do two walls at once and even managed to make a brew while waiting for the next stage!
Feeling like a pro, I agreed to plaster a mate’s bedroom the week after the course. That’s where I hit a new set of challenges. My friend had used bathroom paint on the walls, they were crumbling, there were door frames, windows, and it was a large area. To top it off, I had to navigate a fully furnished house with carpets. Needless to say, I made a mess and quickly realised I needed more practice.
It wasn’t Gold Trowel’s training that caused the issues—it was just that the classroom environment wasn’t the real world. I learned that preparation is key. You need to plan ahead, protect the area, have your cleaning buckets ready, and get your mixes sorted before starting. It wasn’t that I couldn’t plaster—it’s that I’d jumped from my learner car straight onto the motorway in a Porsche, and I crashed.
After that experience, I researched, practiced on small areas, and by 2020, when it came to plastering my entire house, I was ready.
Tools Needed for Plastering
Here’s a list of the essential tools you’ll need for plastering, especially if you’re tackling a large area:
- Paint roller, paint bucket, and paint brush: For applying SBR or PVA to seal the surface.
- Hand board (hawk): To hold the plaster while applying it.
- Bucket trowel: For transferring plaster from the mixing bucket to the hawk.
- Plastering trowel: For applying the plaster to the wall.
- Finishing trowel: To smooth and flatten the plaster in the final stages.
- Large soft brush (like a wallpaper pasting brush): For wetting the wall during the finishing process.
- Sponge float (optional): For smoothing the plaster.
- Water sprayer: To keep the plaster wet during trowelling.
- Speed skim (optional but recommended): To help flatten large areas faster.
- Flexible tub and 9 litre bucket: For cleaning tools and measuring clean water.
- Plasterer’s whisk: For mixing the plaster to the correct consistency.
These tools are essential for large plastering jobs, and the initial investment in them will ensure you get a good finish. However, if you’re just tackling a small patch, buying all this equipment may not be worth it. You get what you pay for, cheap trowels will leave nasty lines and Trowels need wearing in over many years of use to leave a nice finish, look at pre-worn in trowels from Marshal town, Refina and OX. Also a plasterers whisk is essential to mix large quantities with no lumps, a drill whisk just isn’t up to the task.
Step-by-Step Guide to Plastering
Step 1: Clean and Check Your Surface
Before you start plastering, ensure your wall is clean, solid, and free from dust, loose plaster, or wallpaper. If there are large cracks or the plaster is crumbling, it may need removing, and a base coat of either Gypsum hardwall or bonding plaster may be required. For porous walls, use SBR or PVA to control suction. Apply SBR the night before plastering or PVA on the day to seal the wall.
Step 2: Practice with Hawk and Trowel
Handling a hawk and trowel can be tricky if you’re new to it. Set up a sheet of plasterboard in your garage to practice the movement before working on the actual wall. You can also whisk a small batch of plaster to practice transferring it from the hawk to the trowel.
Step 3: Mixing the Plaster
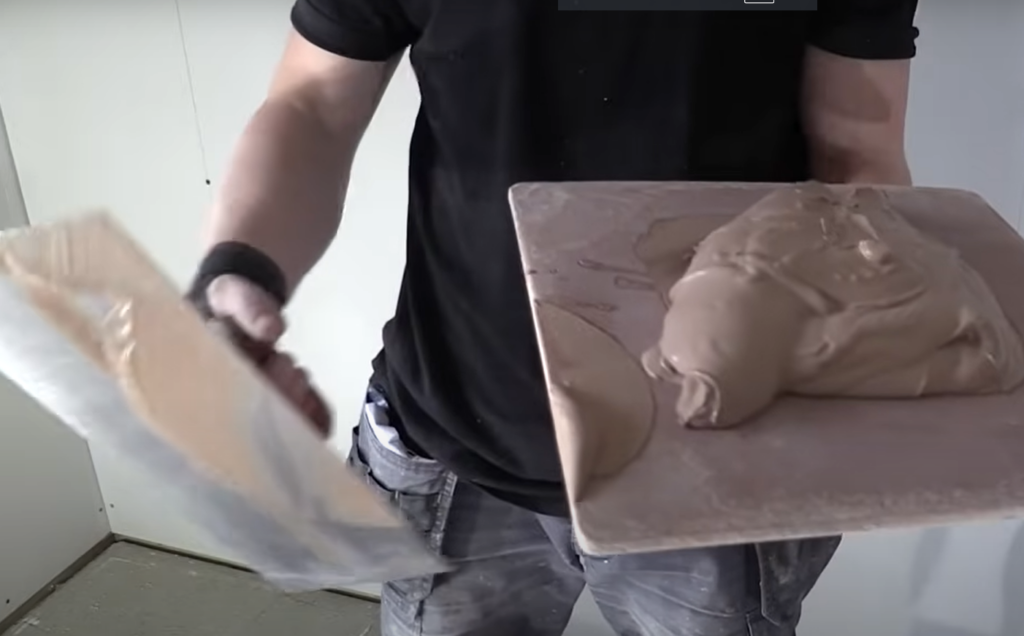
Always add plaster to water, not the other way around. Start with half a bucket of water (around 9 liters) and add plaster to make a lump-free mixture. The ideal consistency is like chocolate mousse—thick enough to hold its shape but soft enough to spread easily. Plaster and water mix at about a 50:50 ratio.
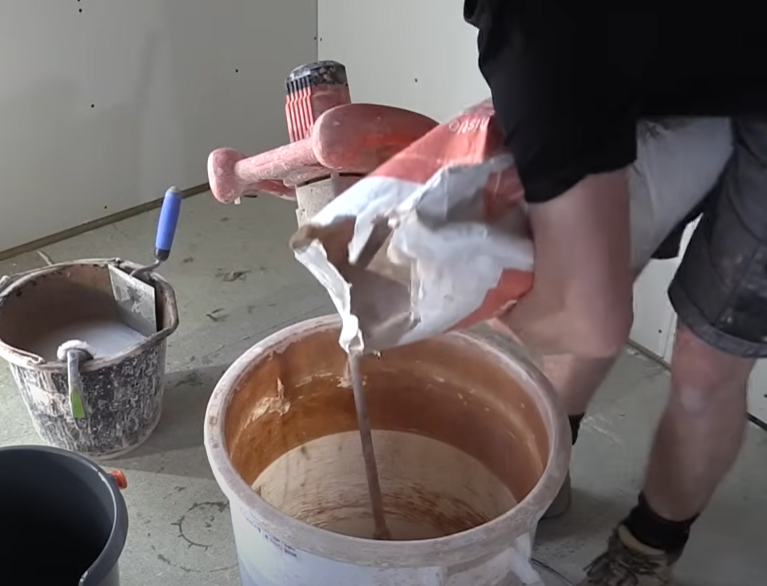
Step 4: Applying the First Coat
Once your plaster is mixed, place a small amount on your handboard and skim a horizontal top border across the wall. Work from right to left if you’re right-handed (or the opposite if left-handed). Focus on applying an even, flat coat about 2-4mm thick. After the top border is done, use vertical strokes to fill the rest of the wall, ensuring the plaster is spread evenly.
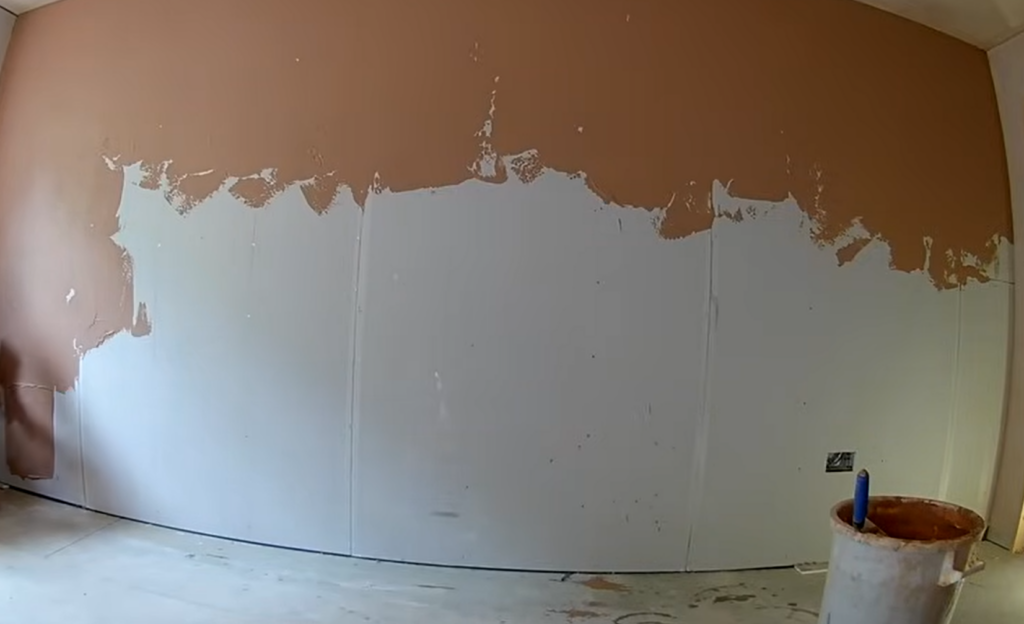
Step 5: Flattening the First Coat
Once the first coat is on, use a speed skim or your trowel to flatten the plaster, pressing down high spots and filling low spots. Don’t worry about smoothing it perfectly at this stage. The goal is to get it flat. Wash your tools and buckets clean after this stage.
Step 6: Applying the Second Coat
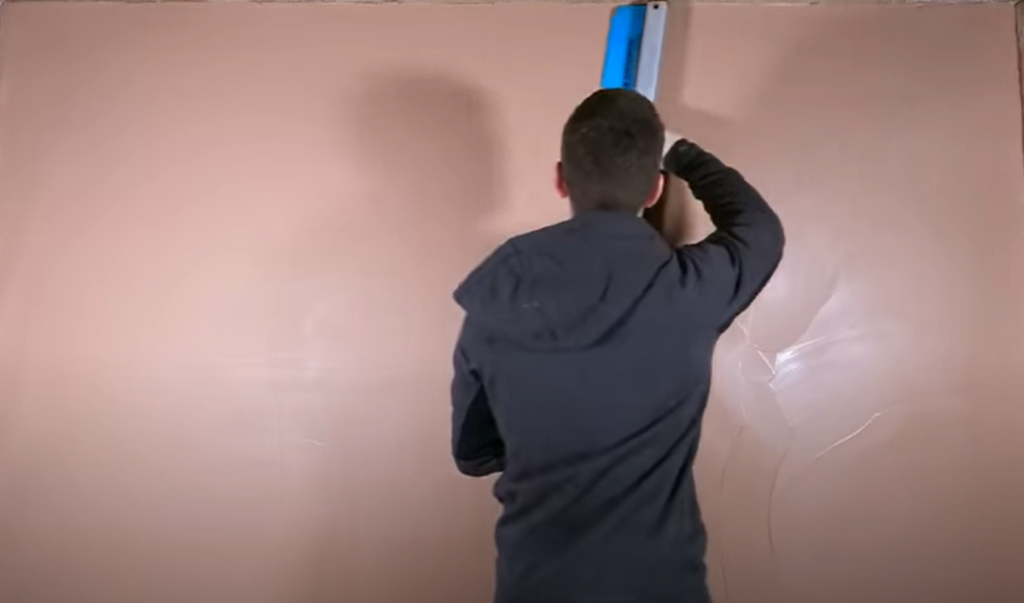
The second coat is applied the same way, but it should be thinner—around 1-2mm thick—with a slightly runnier plaster mix. Push firmly with your trowel to ensure you fill any holes. Flatten the second coat as you did with the first, either with a speed skim or your trowel.
Step 7: Trowelling Up
After the second coat has started to firm up, it’s time to remove any trowel marks. Lightly wet the surface using your soft brush or sprayer, and run your trowel over the wall with firm, large strokes. Pay close attention to the corners and edges. Use a small paintbrush and water to clean up the adjoining edges. Look on Youtube for sponge floating plaster, this is a neat hack for beginners to smooth out imperfections and get a nice finish where you are not great at getting the plaster smooth.
Step 8: The Final Trowel
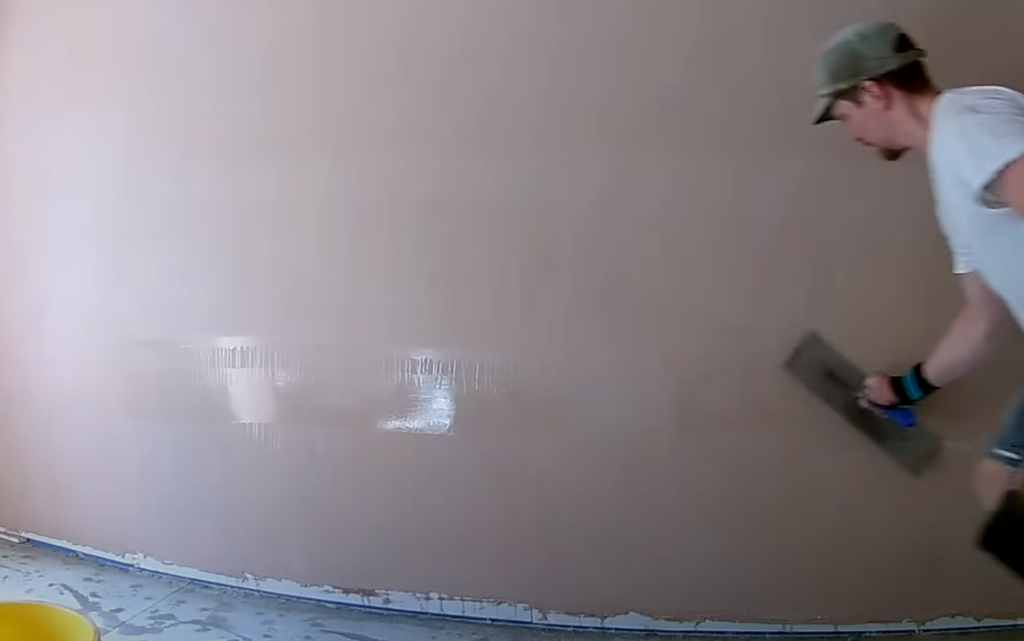
As the plaster begins to dry and change colour to a brown, perform your final trowel pass. Use a wet finishing trowel, working in large, sweeping strokes to achieve a smooth finish. Be careful not to over-polish the plaster—it should feel like eggshell when you’re done. This texture is important for paint or wallpaper to adhere properly.
