Bathroom Projects
Explore Our DIY Bathroom Projects
Transform Your Bathroom with Our Step-by-Step Guides
01
Plan
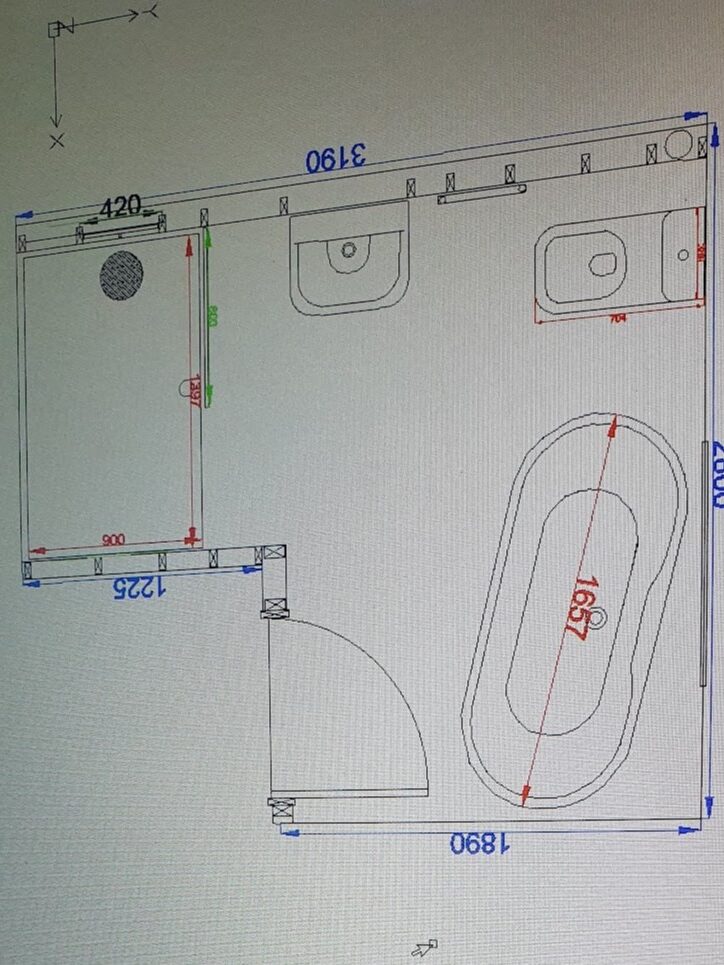
Planning
How we created a detailed plan for the bathroom renovation to maximise space, including design, materials, and budget.
02
Review
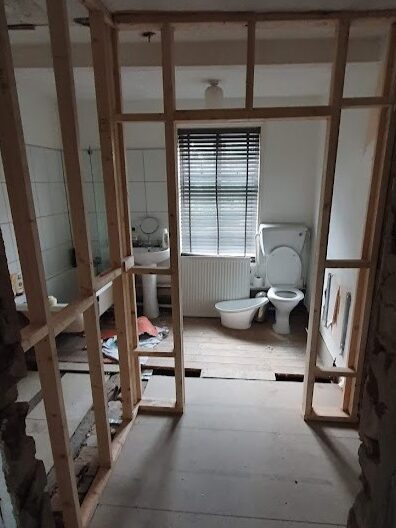
Demolition
Tips to remove the existing bathroom fixtures and structures to prepare for the renovation process without being caught short.
03
DO
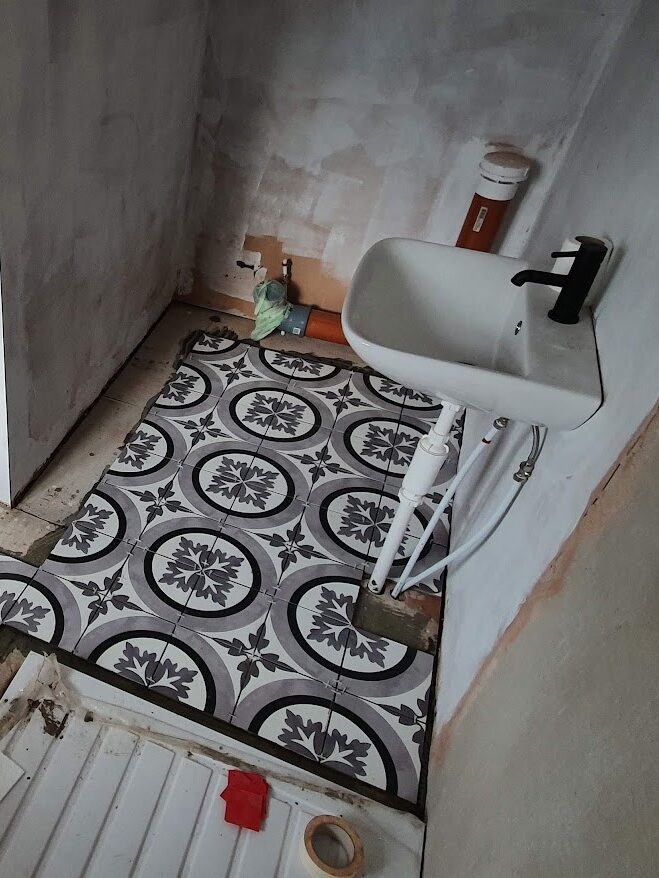
Plumb & Fix
Bathroom plumbing and installation advise, DIY tiling tricks and how to plumb-in bathroom furniture and WC.
04
Finish
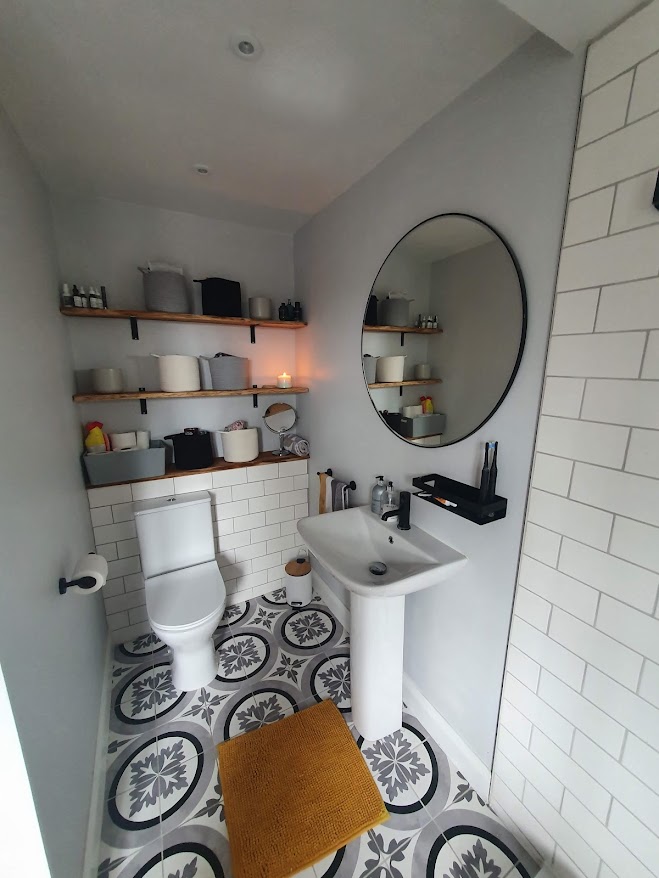
Completion
How to finish and decorate a bathroom, silicone fixtures, add storage, lighting and hang bathroom mirrors.
Key Considerations When Planning Your Bathroom
- Tile and Stud Work Thickness: Always account for the thickness of tiles and studwork.
- Joist Directions: Make sure you know which way your joists run; you don’t want waste pipes cutting through them to reach the outside wall.
- Proper Materials: Use tile backer boards like HardieBacker or Elements Board around showers and baths. Regular plasterboard will eventually rot.
- Space and Access: Check if you have room to open doors and manoeuvre around. Also, ensure that your furniture fits under windows or allows access.
- Tile Placement: Plan your tiles so you don’t end up with thin slivers at the top. Adjust the starting position to finish with larger, evenly spaced tiles.
- Plumbing Access: Think about where your radiator and extraction fan will go. An inline fan in the attic is best, but plan its location so it vents properly.
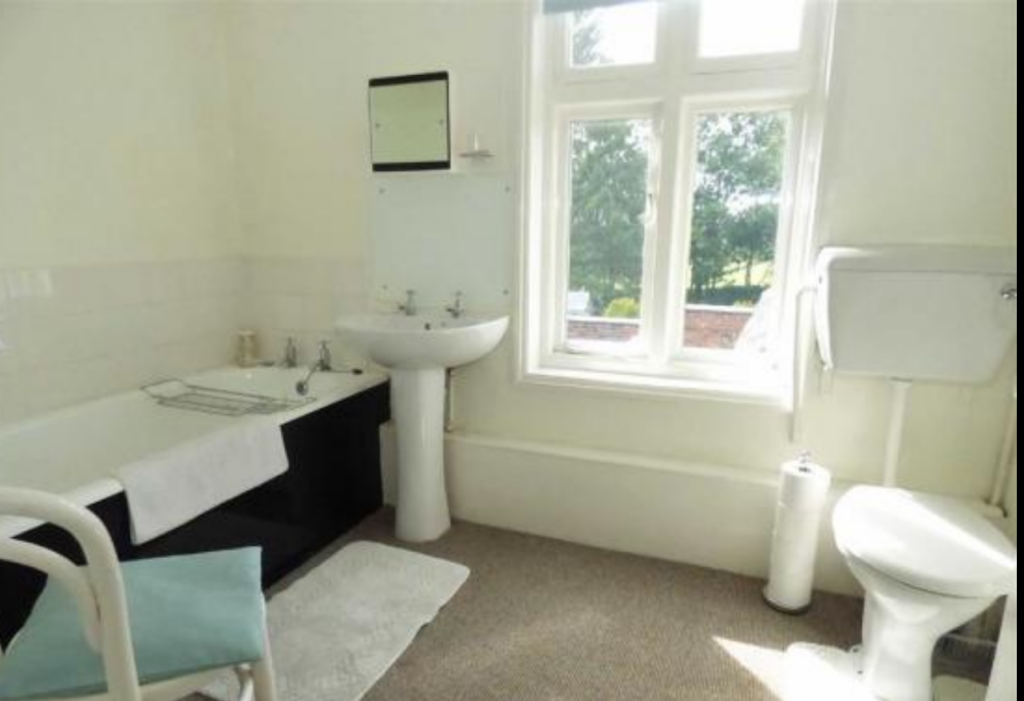
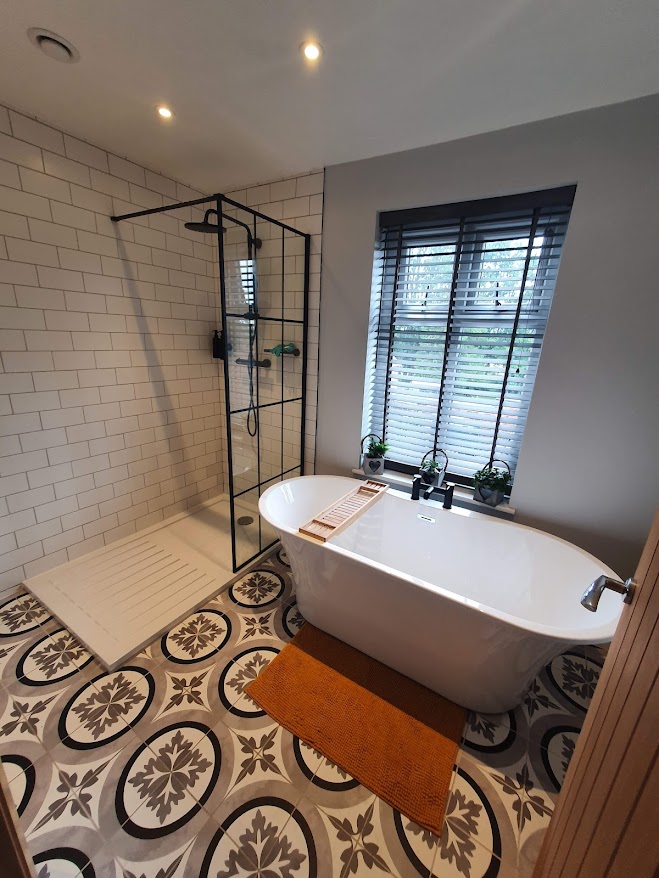
Bathrooms and Kitchens are the worst!
We faced quite a few challenges with our bathroom renovation. With plans to extend the house, we needed to either box the existing waste pipe (to conceal it in the new extension) or reroute it altogether. We also wanted to change the layout of the master bathroom, adding both a shower and a bath, which meant removing an old airing cupboard.
The Major Work Begins…
I decided to remove the existing waste pipe and dig a new one under the old lean-to kitchen and into the pantry. This would allow me to run it up the wall to the new toilet location—major work, and just the start of what seemed like endless digging.
Breaking through the concrete outside, I located the old clay soil pipe and connected a rubber coupling to run the new plastic waste pipe under the kitchen wall. After breaking through the wall and kitchen floor, I dug through the terracotta tiles into the utility room. This is where I had the idea to turn the pantry into a downstairs WC. It was perfect—all I needed was a connection into the waste system, and we could plumb in a new toilet and sink!

Taking the Plunge… With a Young Family in Tow
Imagine this: a heavily pregnant wife, a one-year-old toddler, and our only bathroom being ripped out. Not the smartest move, right? But when you’ve got a deadline pending, sometimes common sense takes a backseat. We survived thanks to our old outdoor toilet—something we never thought we’d use, but in those weeks, it became a lifesaver. How people managed with just an outdoor loo back in the day, I’ll never understand!. Dropping the Floor for a Seamless Finish
I decided to remove the old floorboards and drop the floor between the joists, this would allow me to lay tiles and level the floor without creating a step up into the bathroom. It sounded straightforward, but it meant pulling up the old floor, working in a cramped space, and dealing with clouds of dust. The benefit? It allowed me to lay down tile backer boards without creating an awkward step-up into the bathroom. !
Lessons Learned
Even though I used a free CAD design software to 3d plan the bathroom, I didn’t factor in the door location and the wall thickness with backer board and tiles, which meant the shower tray wouldn’t fit, Mistake #No1. Instead of returning it (with a huge shipping fee), I reconfigured the bathroom again, which turned out to be a triumph. Placing the toilet around the corner means it’s out of sight when the door is opened—a daily occurrence with toddlers around, and this meant the freestanding bath was facing the bathroom door on full show down the hall way rather than the toilet.
Tiling Trials
I’m not the best at tiling. While I managed to plaster smooth walls, I struggled with cutting and levelling tiles. We chose metro tiles, which was mistake #No2, they are small, fiddly and take ages to tile large areas.
I started tiling from a full tile at the shower tray, and even though I measured to finish on a cut tile we stupidly changed to small tile spacers finishing me 10mm short at the ceiling, leaving a sliver tile at the top—not ideal!
Final Touches and Ongoing Issues
Despite the challenges, the main bathroom turned out great. We added oak shelves behind the toilet for storage, and the overall look is lovely. 4 years on and its holding out great, needs a lick of paint to refresh it and cover the toddler toothpaste tsunamis. We’ve had some issues with the suite that needs addressing:
Bath Trap Trouble: The freestanding shallow bath trap from Victoria plumbing is so close to the floor we don’t know why but it occasionally pops off, causing leaks. Thankfully, we used HardieBacker and waterproofed the floor, so we’ve avoided serious flooding.
Black Taps Flaking: The black coating on our Victoria Plumbing taps and shower has started to flake off, exposing brass and rust underneath.
Waterless Trap Fails: The Wavin waterless trap we used for the sink stopped working after a few weeks, letting unpleasant smells seep into the bathroom.
The Downstairs WC Transformation
Next up, the downstairs WC—a project that started in what was once an old larder, complete with the original meat stone and hooks hanging from the ceiling. It felt like a bit of a museum! When I rerouted the soil pipe under the kitchen and into the larder for the new upstairs bathroom, I had a brainwave: why not add a downstairs toilet? With two little ones (and a newborn on the way), a downstairs toilet would be a game-changer. Plus, there was still room left over to create a handy cleaning store.
The Challenge of the Sunken Floor
The larder was set lower than the rest of the house, with a step down. I needed to level the floor with the main house, and initially, I considered using a concrete screed. But with a terrace property, I was concerned about damp issues and potentially bridging next door’s damp-proof course—if they even had one. Instead, I opted for a floating floor by laying insulation boards and new T&G chipboard flooring. This worked perfectly, and the new level matched the rest of the house seamlessly.
Plumbing Made Easy
With the waste pipe and plumbing already running through the floor above, thanks to the bathroom project, adding the plumbing for the WC was straightforward. We’d already dropped the ceilings, which gave me easy access to all the pipework.
Creating the Cleaning Store
I built a simple stud wall to section off the larder, creating a dedicated space for a cleaning store. Once the walls were up, I plasterboarded and prepared them for the finishing touches.
Finishing Touches
For the WC, I didn’t want it to mirror the bathroom too closely, even though I had metro tiles left over. Instead, I laid them in a herringbone pattern behind the toilet, which added a bit of flair without being too matchy-matchy. Once the tiles were up, it was time for a fresh coat of paint.
